Pave Setting - Hand Set versus Pre Cut
I thought I'd devote this blog entry to my why my setter Pierre has lost his hair. Or so he says: by hand setting my tiny little and very soft glittery colored stones into hard metal castings that aren't ready made for the fast setting type that is the standard nowadays.
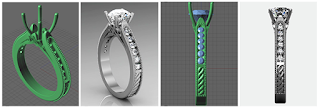
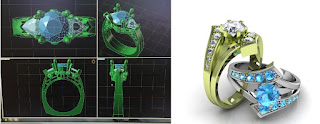
Let's first talk about how stones are set for commercial jewelry production. With most rings and other pieces nowadays being made in CAD, it is possible to cut holes into the model where the stones go, add the milgrain, as well as the beads that will be pushed over the gem. Even the "engraving" can be done in the CAD. Have a look at this CAD model.
This is a perfect example of the engraving and milgrain having been added before casting the model.
Here's an image of a CAD with beads (right side):
And here is a casting of a piece like this, one that I have previously used in my shop, before setting.
The resulting jewelry has a very even look with each bead being perfectly rounded. The setting labor for these rings is faster as well. The finished product will look something like this:
Good setters and jewelers will recognize immediately that this ring was prepared for easier setting in CAD. The CAD work itself is more expensive for a piece like this, but since most of these pieces are then mass produced it pays to save on labor, which can be less than half per stone, and can be performed by less qualified setters.
Finer jewelry is often hand set. For my pieces, Pierre had to build tools that would hold the tiny pieces without marring or bending the metal. If he sets a pear shape into a piece that has a round hole, he has to drill the hole differently. If the stone is a bit small, he doubles the milgrain. If it is a bit too large, he will add less milgrain. If there's an empty space created, he will fill it with a little engraving.
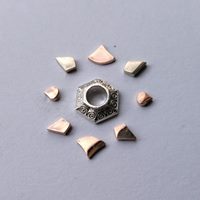
This is how my pieces look after casting and pre-polish. You can see these are totally blank slates. That means I have "give" when I select gems for these, and Pierre can accommodate different shapes.
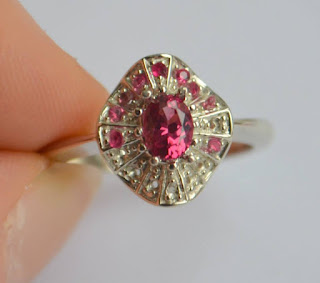
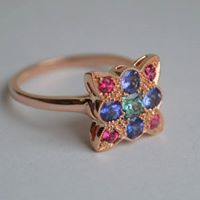
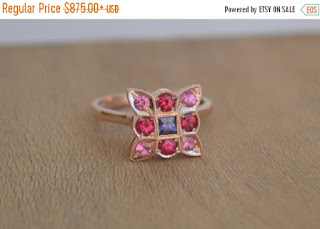
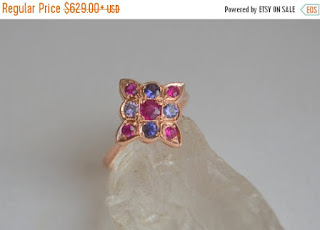
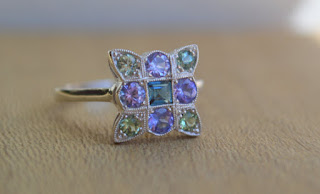
The result is that each of my pieces looks a little different. Pierre tries to get inventive so that the result always looks good, though not usually identical to the previous piece. This 9 stone ring is a perfect example. The center can be round or square, between 2.8 and 3mm. The inner rounds should be 3mm (ish) and the outer closer to 2.5mm. Look at how smaller center and sidestones get more milgrain and beads.
I'm lucky to be working with Pierre, who's been in the business for over 40 years, having learned to set gems in his teens. He still loves what he does, and it shows. He finds my designs very challenging because no two items are ever the same. But he also says it gives him a break from the same "day in day out" setting that other people give him. Very few setters work with colored stones on a regular basis, and just about none do pave work with them. When I started showing up with my crazy ideas, I often got him very frustrated - stones too deep, too uneven, too "wonky", not at all like diamonds which are like eggs. But over time, both he and I learned how to tame the little beauties.
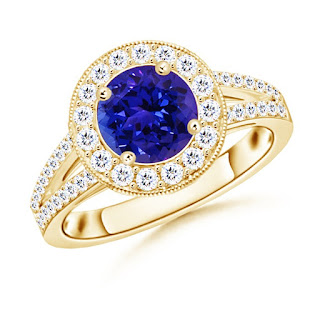
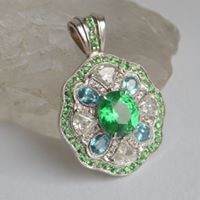
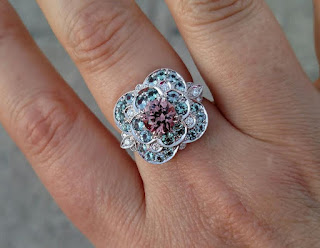
Here are a few more images of some of my favorite pieces:

